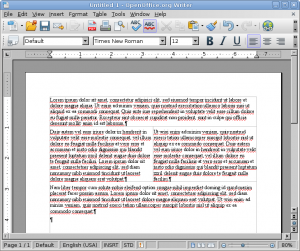
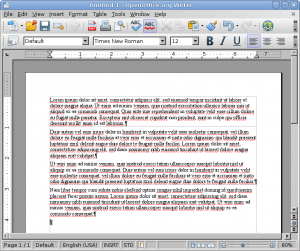
Yesterday I started writing a new Writer file and I wanted to include a TOC (“table of content” for the uninitiated). So my document was very basic and contained no formattting: A title per page, some text, a page break and the same footer on every page. Eight pages at most.
After finishing writing the text I applied the outlines: Heading for the file title, Heading 1 for the page titles and Default or Text body for the actual text.
And yet when inserting the TOC on the first page, the entry for page 2 listed not only the title of the page but also the whole text and no matter what I tried, I couldn’t get rid off the text in the toc when updating the toc.
I triple-checked the formatting but it clearly said “Heading 1” for the title and “Text body” for the text. Bummer!
As always, Google to the rescue! (What did we ever do before Google?)
This entry in a OpenOffice forum finally provided the answer – apparently the formatting does not get properly automagically re-applied. An easy fix is to select the whole text (Ctrl+A) and remove all formatting (Ctrl+M) or menu Format –> Clear Direct Formatting so you can start all over again. This might be okay but if you have a large document, then starting all over again might not be an option for you. Also, apparently this does not *always* work so your mileage may vary.
Therefore, you should check the following things:
1) Outline Numbering
It’s available via Tools –> Outline Numbering… You see those levels 1 to 10 on the left? The same levels are used by the to TOC to determine what to include. For each level the Paragraph Style can be configured. If e.g. level 4 is assigned the Paragraph Style “Text body”, guess what will happen in the TOC?
2) Styles and Formatting
Press F11 to bring up the Styles and Formatting dialogue. Right-click any entry and select “Modify…” to see what Outline level in the tab “Outline & Numbering” is assigned. Specifically the styles “Default” and “Text body” should be not be assigned any Outline level from 1 to 10.
Although this dialogue sounds redundant to Outline Numbering, it is not. In this dialogue you can customize paragraph styles and also create new ones. In the Outline Numbering menu, you can “only” assign a paragraph style to a predefined level.
3) The paragraph style (aka “culprit” in my case)
It’s easy to get lost with outline this and format that. As you should know, simply pressing Enter opens a new paragraph that can be assigned a different style whereas pressing Shift+Enter twice will open op the same amount of space but not create a new formatting “realm” – the formatting of the previous paragraph will apply to the following lines too. And on one page you can’t really see what styles are applied to what paragraphs unless you click into the paragraphs.
So it’s easy to overlook a paragraph style. This also applies to an Outline level.
Click into the paragraph, right-click and select “Paragraph…” from the context menu or open the same dialogue via the menu Format –> Paragraph… In the tab “Outline & Numbering” (again! ^_^), an Outline level can be set. Depending on what you defined or what level you edited under “1) Outline Numbering” above, select an outline level that is not included in these ten levels to keep the text from appearing in the TOC.
Hope this helps!


